“Creating a Docker Image: A Step-by-Step Guide to Tagging and Pushing to Docker Hub”


- Build a New Image [ using Docker File ]
- Pushing to GIT HUB.
3. Tag the image with the proper name/alias.
4. Pushing a Docker Image to a Private Repositor*y.*
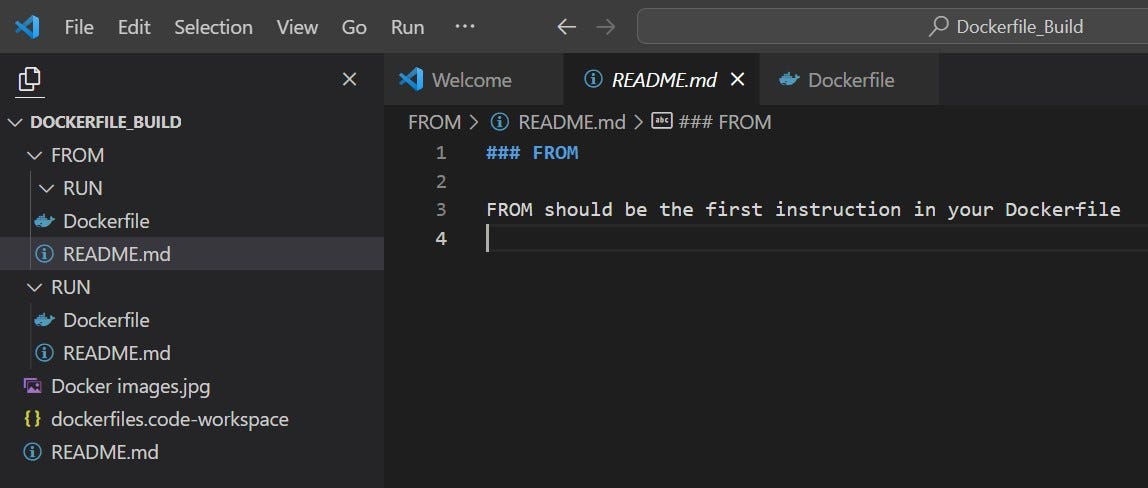
We use the following Docker file:
### Docker files :
A docker file is a declarative way of creating our own images. Docker will give us some syntax to create our own images.
The file name should be Docker file. docker command should run where your Docker file exists.
### How to build an image from a Docker file
```
docker build -t [docker-hub-URL]/[your-username]/[image-name]: version.
```

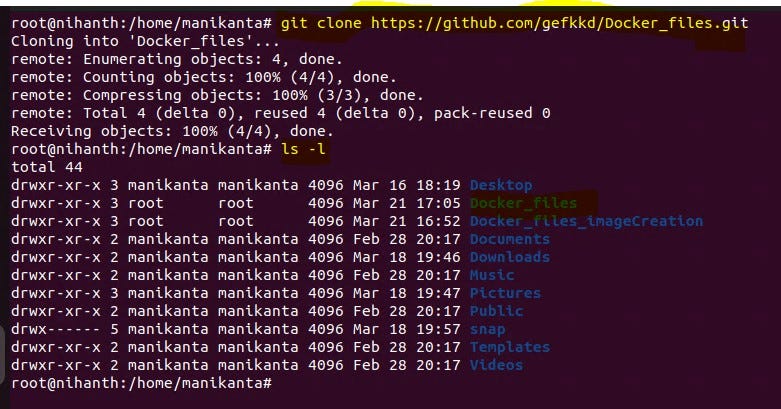
Repo link: https://github.com/gefkkd/Docker_Image_build.git
root@nihanth:/home/manikanta# git clone github.com/gefkkd/Docker_files.git or past files on your ec2.
manikanta@nihanth:~/Dockerfile_Build/FROM$ sudo docker build -t docker.io/mani2023/test:v1 .
manikanta@nihanth:~/Dockerfile_Build/FROM$ docker images

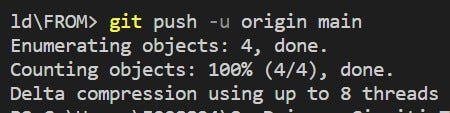
- Pushing to GIT HUB.
creating a new repository
You need to create a new repository and click on the plus sign.
Fill up all the required details, i.e., repository name, description and also make the repository public this time as it is free

Create your local project on your desktop directed toward a current working directory
Initialize the git repository
3. Tag the image with the proper name/alias.
Now we can list the existing images with the following command:
manikanta@nihanth:~$ sudo docker images

Now that we have prepared the Docker image, The first step is to log in to the Docker Hub registry with the following command.
we first need to tag the image with the proper name/alias with the following command:
Source: Docker Hub official website tag with a new name:
root@nihanth:/home/manikanta# docker tag mani2023/test:v1 mani2023/test:v1–2023

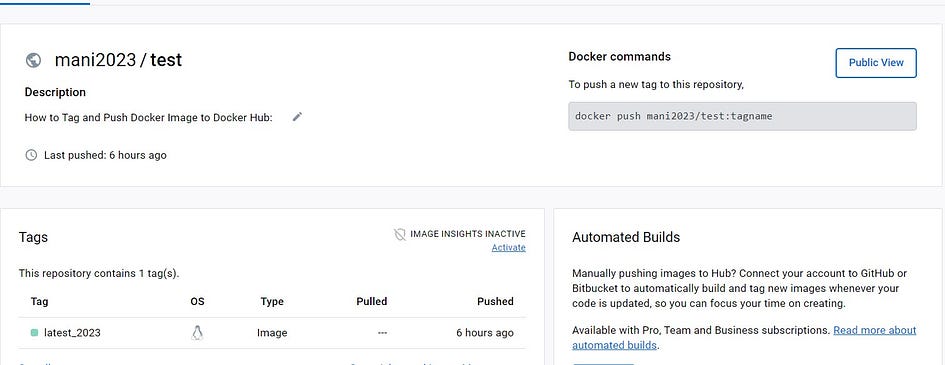
4. Pushing a Docker Image to a Private Repository.
The final step is to push the image with the following command
root@nihanth:/home/manikanta# docker push mani2023/test:v1–2023

As a result, we will get the following output showing our image details and proving that it is available on Docker Hub

That’s it, thank you for reading.
👉 In case you would like to continue the discussion, you can always reach out to me on Twitter or on LinkedIn for professional networking, if you feel like following me on GitHub you can also do that.